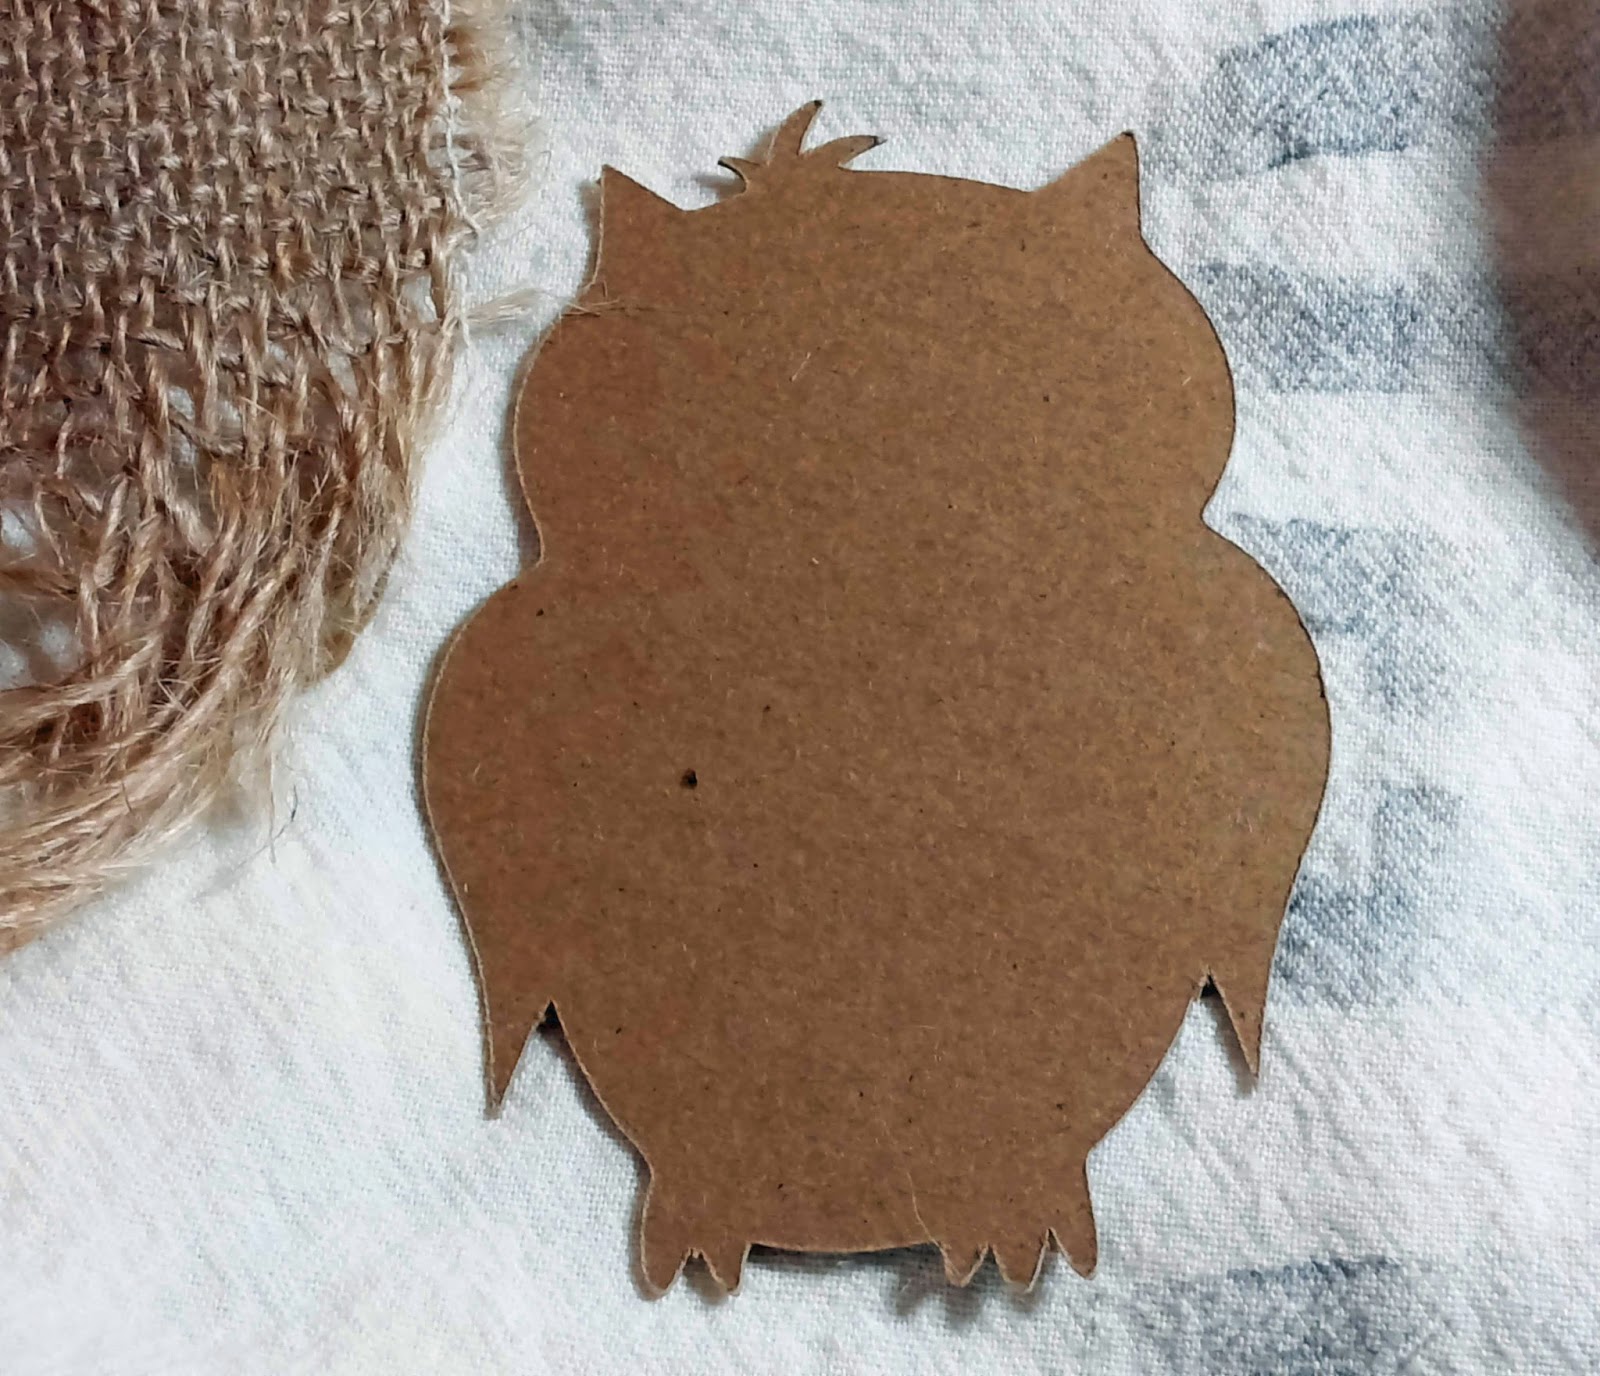
I thought to myself, what can I share that would be simple and fun and kinda fall-ish, since the stores seem hell bent on making sure we know that Fall is right around the corner! After shedding a lil tear and saying goodbye to summer, I remembered this cute lil owl ornament that I made and sold at the craft fairs a couple of years ago. Everyone loved them and I think you will too!
I actually created this lil guy on a program called Make the Cut and saved it as an .svg file which I am including as a free download via Dropbox. Just click on the link below and download to your computer. This means that you will be able to cut the patterns on a cutting machine like the Cricut (Explore only) or the Silhouette. Just use your open or import command and select the file.
If you don't have a cutting machine, you can still make the owl old school style. Just click the link below for the .pdf file and it will take you to Dropbox. From there you can download the file and print or print directly from Dropbox. Just remember to keep it the original size, not fit to page. After it prints, cut out the template parts of the owl by hand and use them to trace the parts on whatever colored cardstock you desire.
Cut them out and follow the instructions below:
Click here for the .svg owl project file
Click to access the .pdf owl project file
Here are the supplies you will need:
Creating this owl is fairly simple. Start out by cutting the body from chipboard. This will make it sturdy. This lil guy should measure roughly 3" wide and 4 1/4" tall overall.
Click to access the .pdf owl project file
Here are the supplies you will need:
Creating this owl is fairly simple. Start out by cutting the body from chipboard. This will make it sturdy. This lil guy should measure roughly 3" wide and 4 1/4" tall overall.
Next, cut out 2 of the same body shape from cardstock. One for the front and one for the back. But before you glue them onto the chipboard body, cut a piece of ribbon 71/2" long, make a loop and glue it to the back, about an inch down from the top of the head. This will serve as a hanger. Now, when you glue the cardstock bodies onto the chipboard, the raw ends of the ribbon will be nicely concealed. Tip: inking the edges of all the owl parts gives them even more charm! Use an ink dauber and inkpad for this.
Now you can begin adding all the parts starting with the eye base, lashes, pupils, wings and a little triangle for his beak! I like to use the Beacon 3 in 1 glue because, even though it can be a little messy, I know everything will stay on for good! It just takes a little getting used to :)
The final step is the fun part! Embellishing! I like to decorate their little bellys with fun things like lace, rhinestones, feathers, ribbon, buttons.....whatever! Just look below at the adorable photos for inspiration. I plan to decorate a few exactly alike in the same colors for a sweet little fall banner. If you decide to use any part of this design or tutorial on your blog, website or to make and sell, I only ask that you include me and my blog in the credit as the designer. Thanks!


No comments:
Post a Comment